
Planning a wedding involves countless details, and one of the most crucial is the timeline of the day. A well-organized timeline ensures that everything runs smoothly and allows for beautiful, stress-free photography. As a wedding photographer, I’ve seen firsthand how a thoughtfully crafted timeline can enhance the photography experience. Here are some essential tips for creating a wedding day timeline that will help capture your day in all its glory.
Step 1: Begin by outlining the main events of your wedding day, including:
Preparation: Time for hair, makeup, and getting dressed.
Ceremony: Start and end times.
Reception: Start time, dinner, speeches, and dancing.
Special Moments: Cake cutting, first dance, and any planned surprises.
Step 2: Allocate Time for Getting Ready
Allow ample time for you and your partner to get ready. Typically, 1.5 to 2 hours is ideal for hair and makeup, and at least an hour for getting dressed. However, this will vary depending on how many bridesmaids you have, so definitely be in communication with your stylist on how long they need to get you all ready! This time also allows your photographer to capture those candid, pre-wedding moments and details like the dress, rings, and bouquets.
Step 3: Decide if you are doing a first look, or waiting for the aisle.
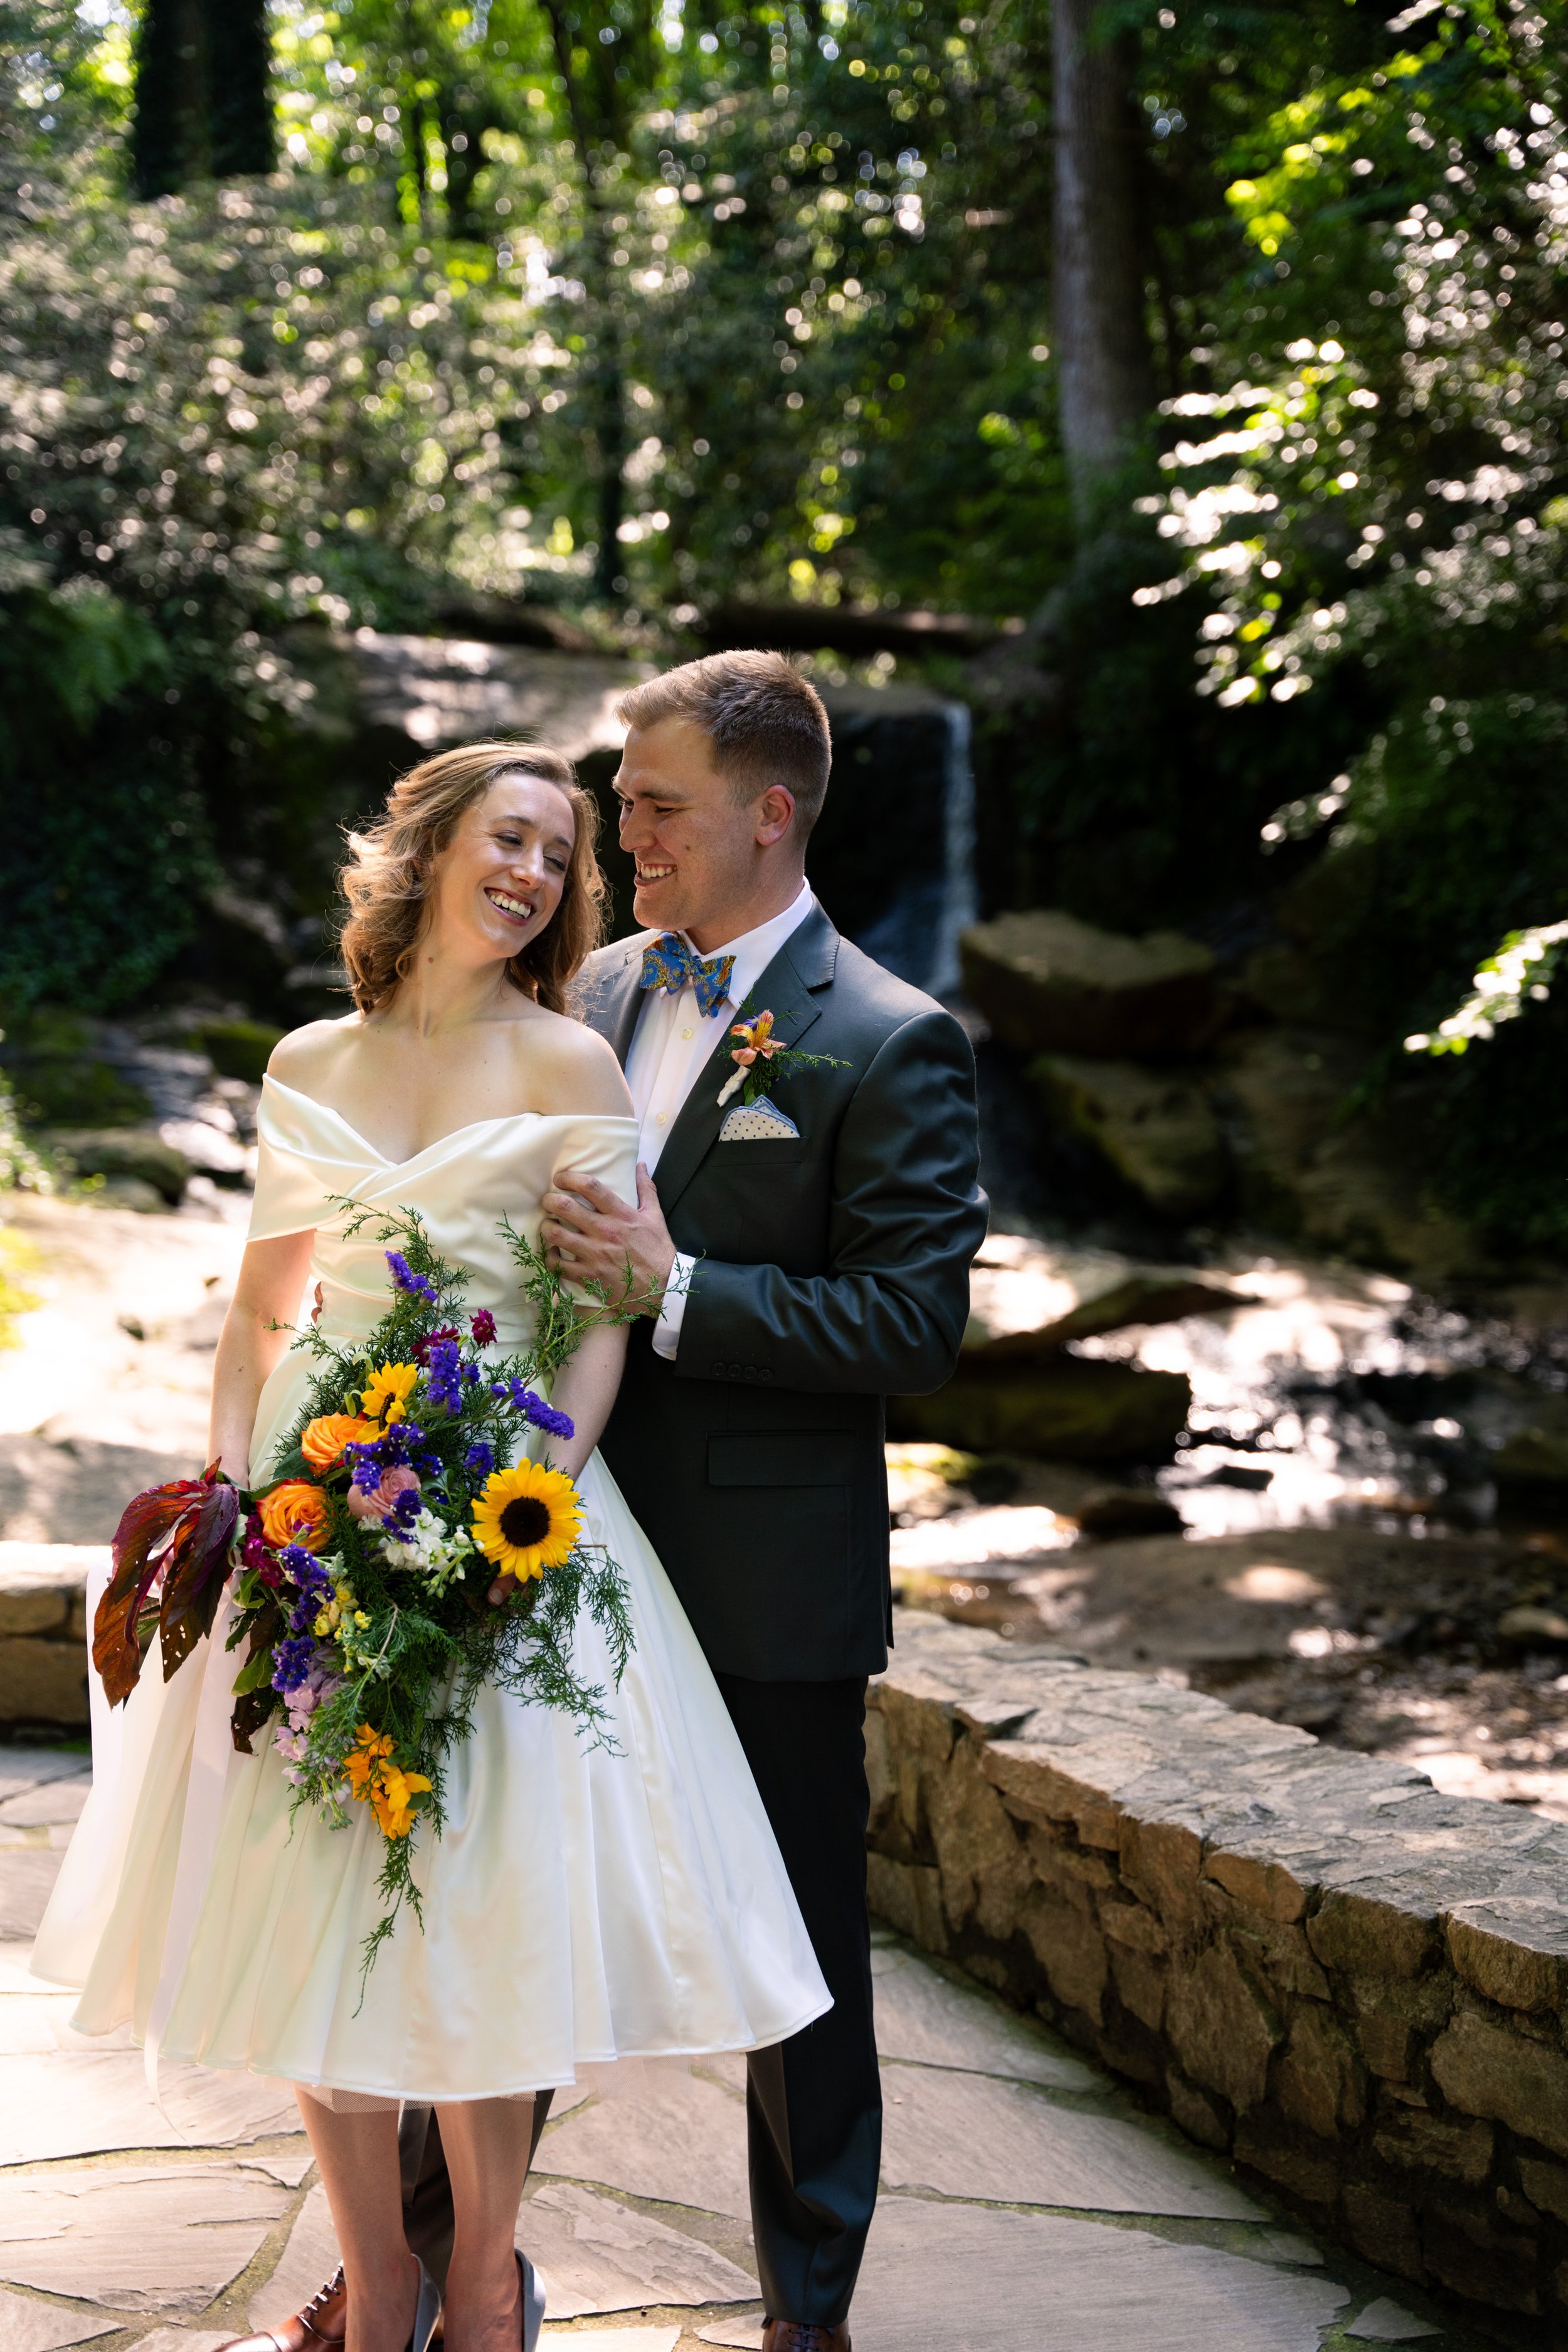
If you choose to have a first look (a private moment before the ceremony), allocate about 30 minutes for this. It’s a fantastic way to capture emotional, intimate photos and can also help ease pre-ceremony jitters. If you choose to do a first look, you can also go ahead and take full bridal party photos and couples photos so you have more time to join cocktail hour. If you choose to wait for the aisle, you will need cocktail hour to take those photos! So plan accordingly depending on which option you choose.
A good rule of thumb is to allocate about 30-45 minutes for couple portraits and an additional 30 minutes for bridal party and family photos. Coordinate with your photographer to determine the best times for these shots, considering lighting and venue constraints.
PRO TIP- Also make sure that you come up with a shot list of which family members will be in which photos. This is especially important if there are some family members who don’t quite get along. This speeds up the process and avoids any unnecessary drama.
Step 4: Build in Breaks and Downtime
You’re going to be tired- odds are you were too excited to sleep the night before and it is an early morning getting you and all your girls ready to go. Plus, weddings can be overwhelming, so include short breaks in your timeline for you and your bridal party to relax and refresh. This can also be a good time for your photographer to capture candid moments and details.
Step 5: Factor in Sunset Times
For outdoor portraits, timing can be crucial. Check the sunset time for your wedding day and plan your couple portraits accordingly. The golden hour, the period shortly before sunset, provides soft, flattering light perfect for stunning photos. Keep in mind, you will probably have to leave your dinner or dancing, depending on what time of year you’re getting married.
Step 6: Communicate with Your Vendors
Share your timeline with all key vendors, including your photographer, videographer, and planner. Coordination ensures everyone is on the same page and can work together seamlessly on the day. If you have a planner, they should do this for you!
Step 7: Be Flexible
Even the best-planned timelines may need adjustments on the day. Build some flexibility into your schedule to accommodate any unforeseen changes or delays. Trust your photographer to handle any adjustments professionally.
Creating a detailed wedding day timeline is a crucial step in ensuring that your day is captured beautifully and runs smoothly. By planning ahead and allowing time for each important moment, you’ll set the stage for stunning photos and a memorable wedding day experience.