As a wedding photographer, I've seen it all: beautiful sunny days, dramatic sunsets, and, yes, even the occasional downpour. And while most couples dream of perfect weather for their big day, I’m here to tell you—rain can be one of the most magical things to happen to your wedding.
It’s easy to panic when you hear the forecast calling for showers, but in reality, rain on your wedding day can create unforgettable moments, stunning photos, and memories that last a lifetime. So, let’s reframe that wet weather worry and take a closer look at why rain might just be the blessing you didn’t know you needed.
1. A Romantic, Dreamy Atmosphere
There’s something inherently romantic about the soft, misty atmosphere that rain can create. The world seems to slow down, and everything feels a little more intimate. The sound of rain pattering against windows or the soft drizzle on the rooftop adds a touch of tranquility to the day. And that peaceful ambiance makes for incredibly beautiful, moody, and atmospheric photos.
2. Unique, One-of-a-Kind Photos
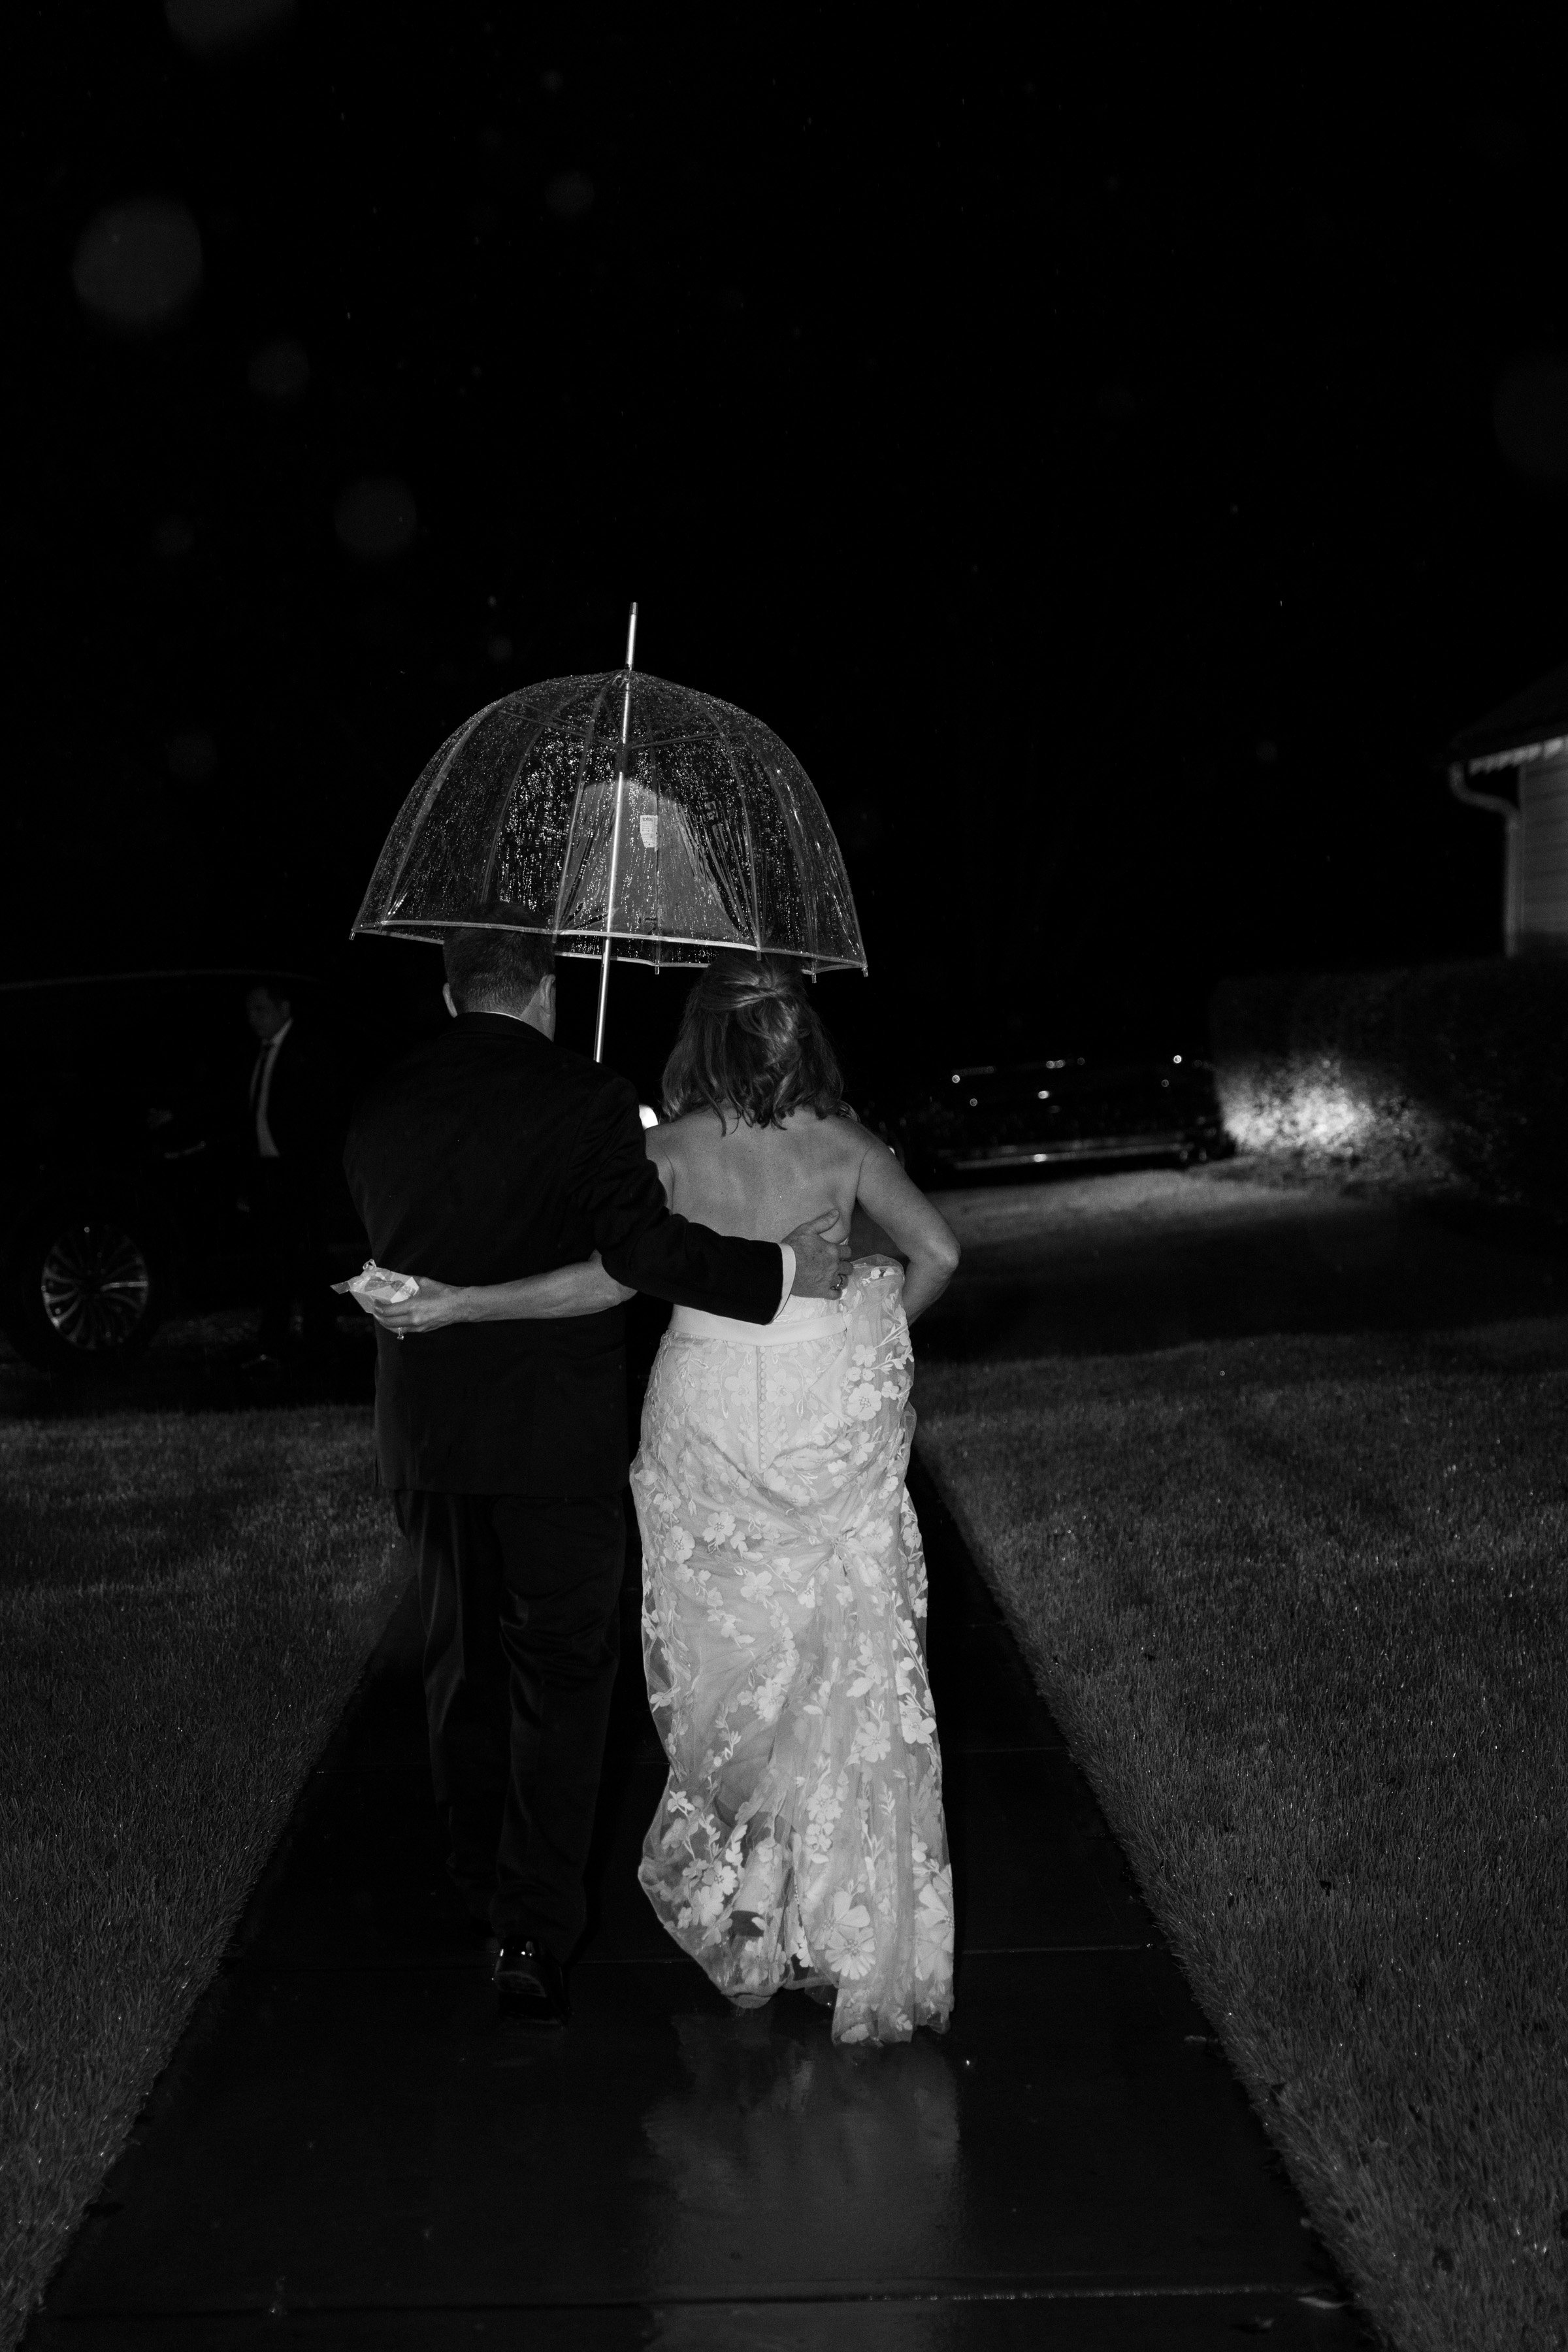
Rain offers a fantastic opportunity for some truly unique and creative wedding photos. As a photographer, I love capturing couples under umbrellas, in puddles, or in the soft glow of a rainy day’s light. The reflections in the water create dreamy, mirror-like images, and the soft, diffused light brings out the warmth in every shot. There's no need to shy away from the rain—embrace it! Some of the most memorable wedding photos come from moments where couples step outside their comfort zone and let nature take its course.
3. The Good Luck Factor
In many cultures, rain on your wedding day is considered good luck. It symbolizes prosperity, fertility, and the washing away of any bad energy, leaving only good things to come. Imagine starting your marriage with a bit of extra good fortune—what’s not to love about that?
4. No Worries About Sunburn or Squinting
While a sunny day might seem ideal, it can come with its own challenges—bright sunlight making everyone squint, or the possibility of guests getting sunburned. With rain, everyone’s a bit more comfortable. The temperature is cooler, and people are generally more relaxed. Plus, you can finally stop worrying about sweating through your wedding dress or suit!
5. The "Plan B" is Often Better Than Plan A
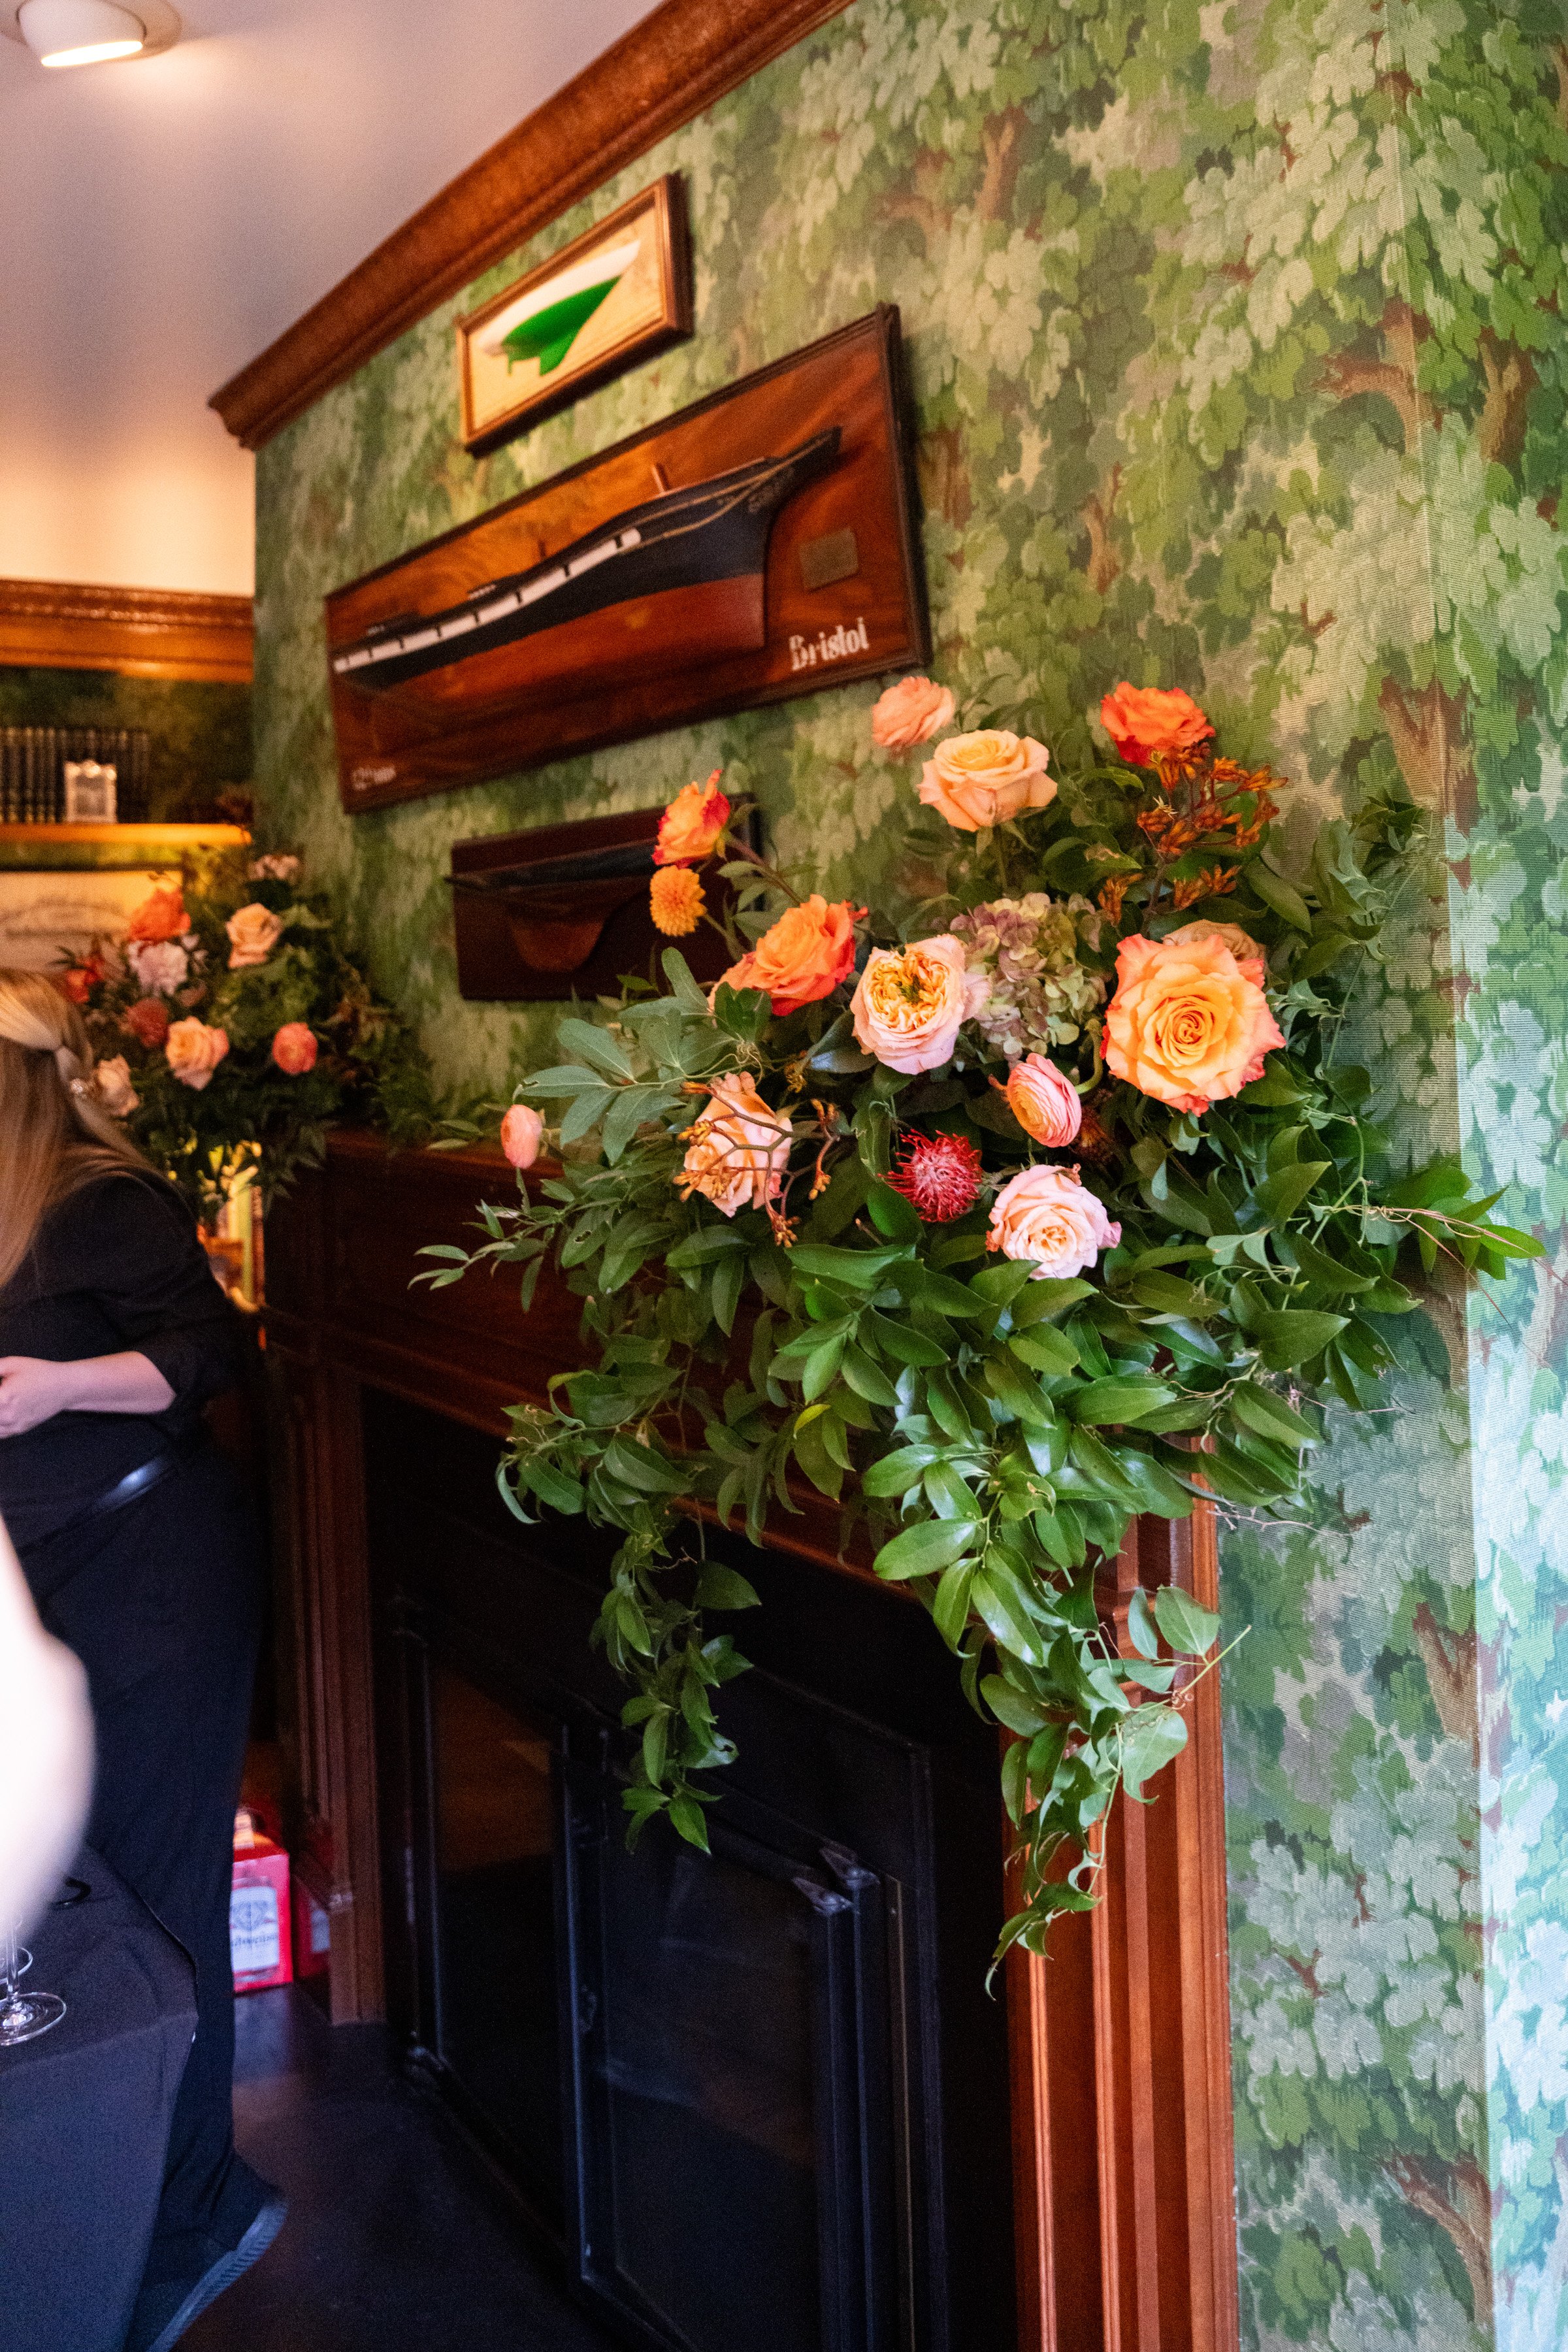
If you're hosting your ceremony or reception outdoors, you likely have a backup indoor location in place, and sometimes, the backup spot can be more intimate and cozy than your original plans. The indoor space may be more photogenic with softer lighting, or it could offer a lovely backdrop that you didn’t anticipate. In fact, many couples find that the indoor, cozy vibe on a rainy day feels more “them” than their outdoor vision.
6. The Love and Support of Your Guests Shines Through
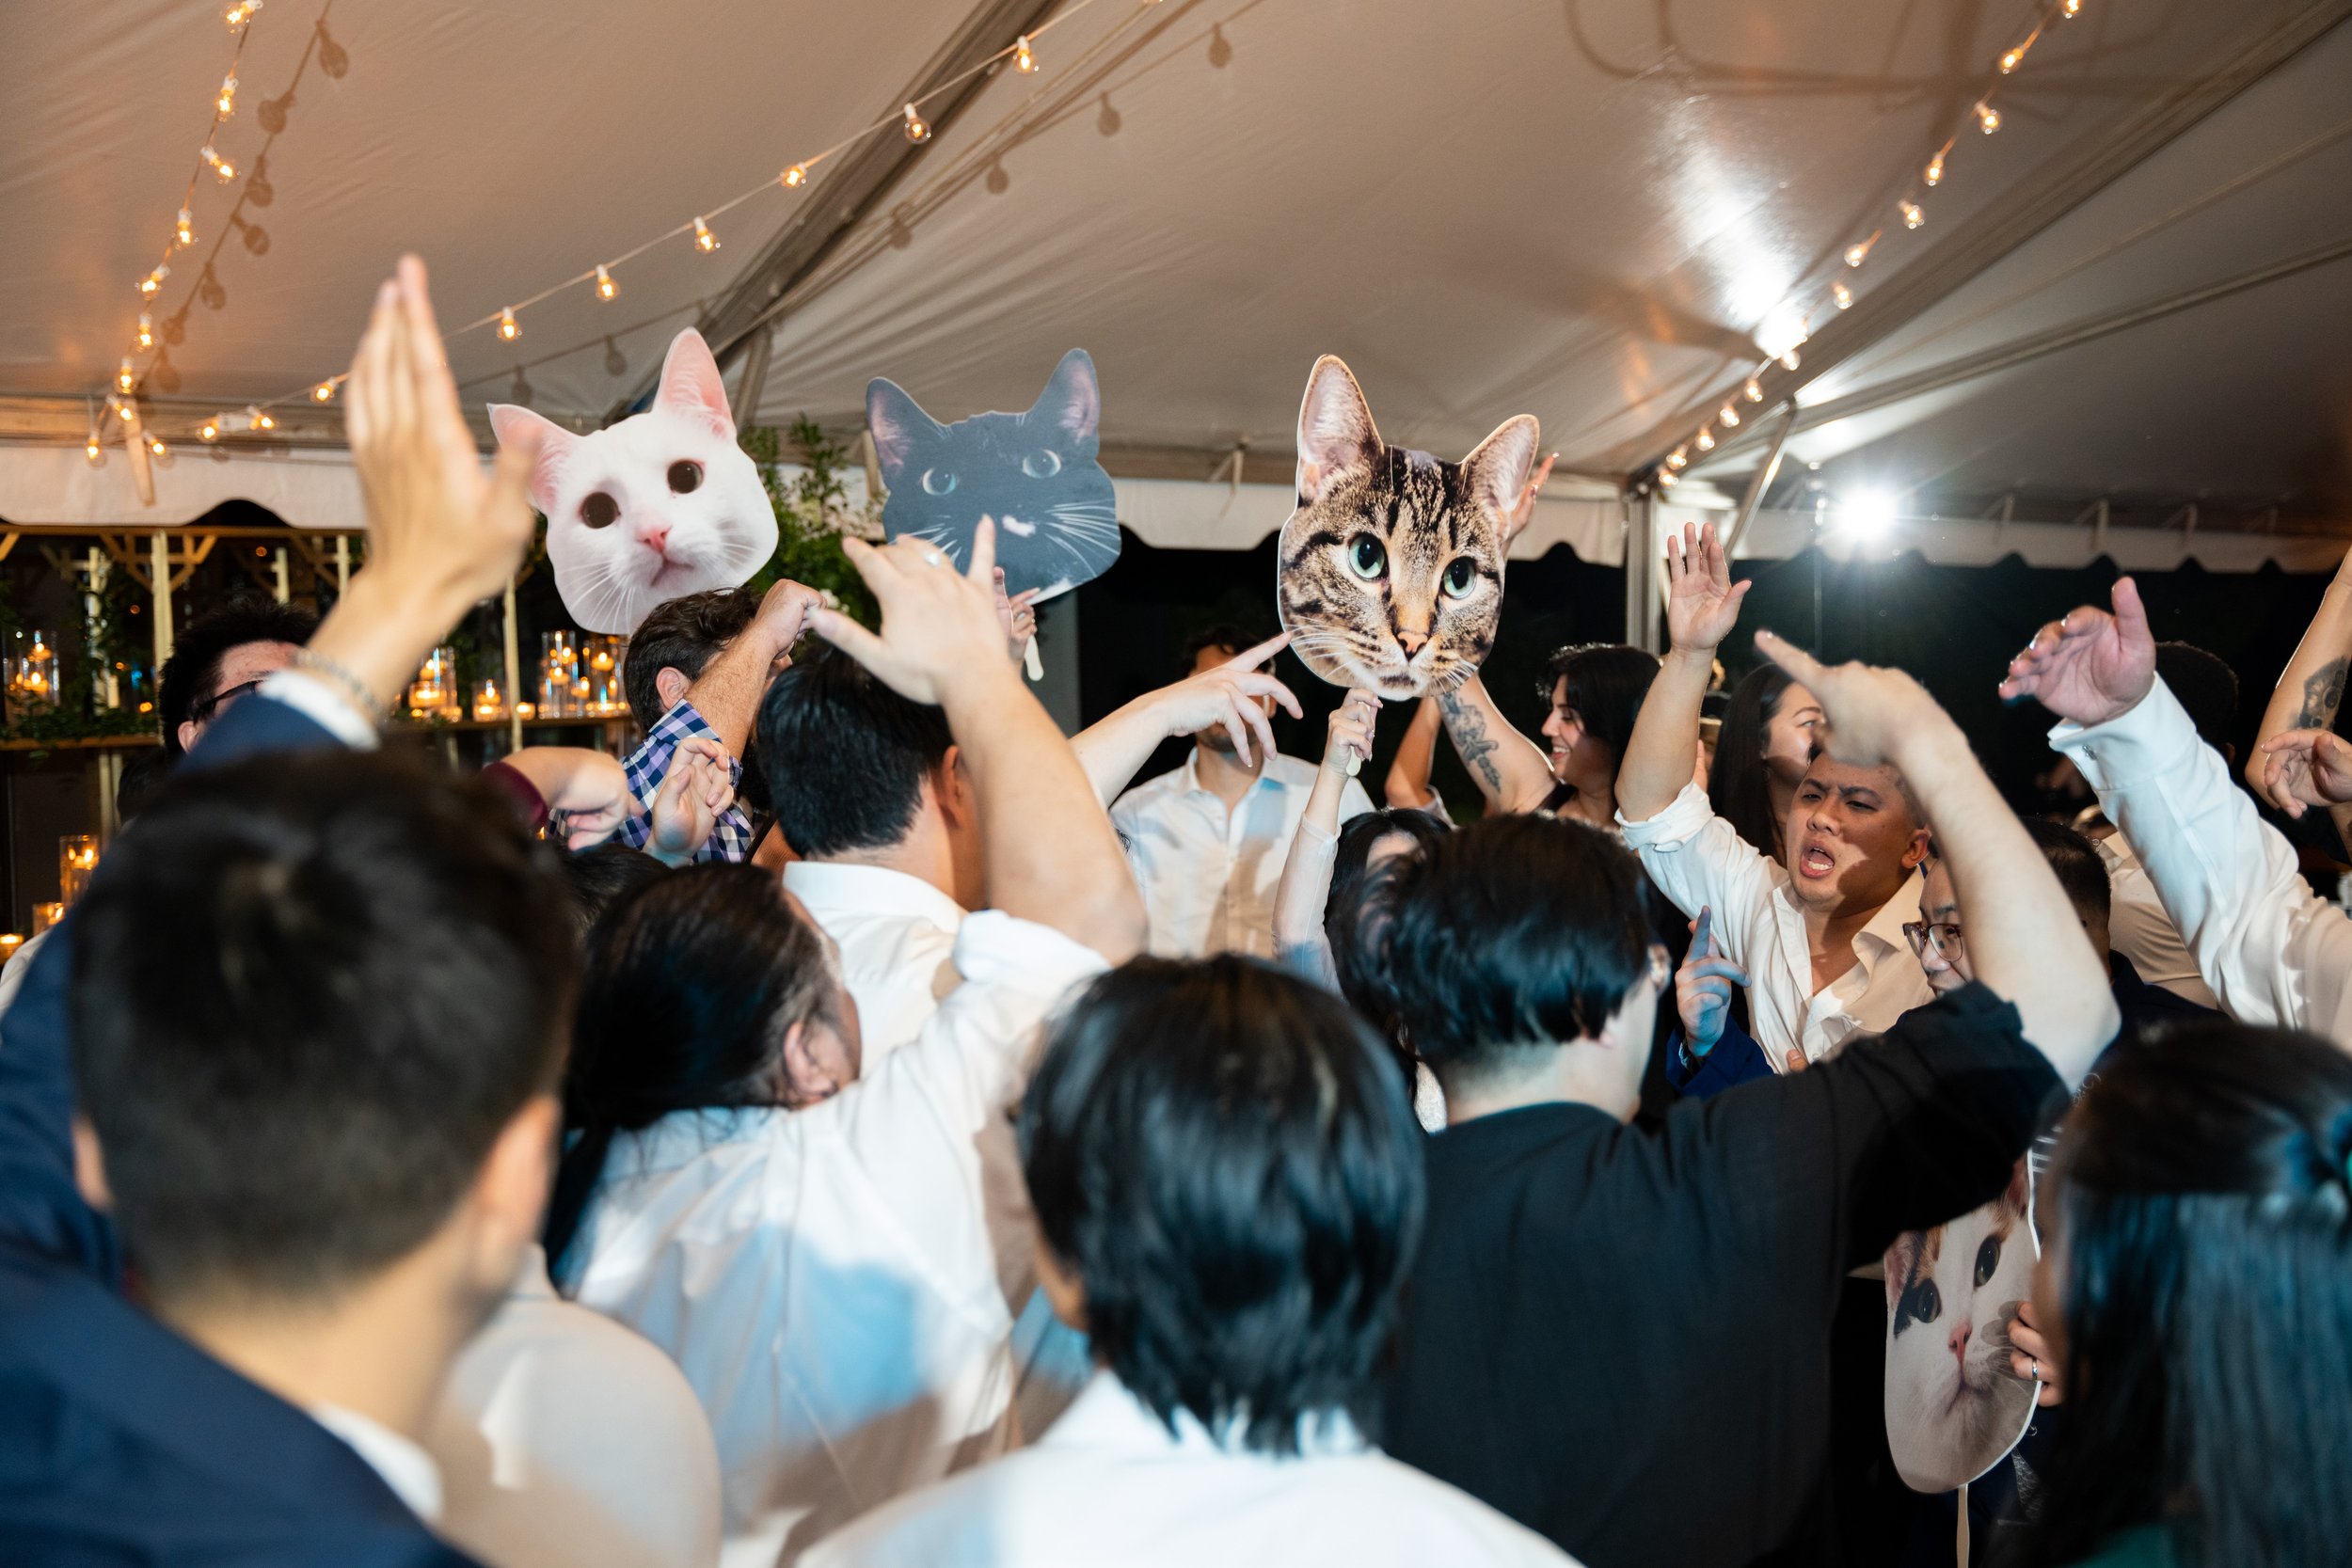
When the rain starts to fall, it often brings people closer together. There’s something unifying about everyone rallying to help each other—whether it's sharing umbrellas, helping with outdoor photos, or simply offering warm hugs as they step inside. You’ll feel the love and support of your closest friends and family even more in those moments. It’s a beautiful reminder that marriage is about weathering the storms together, both literally and figuratively.
7. Perfect Weather for Cozy Details
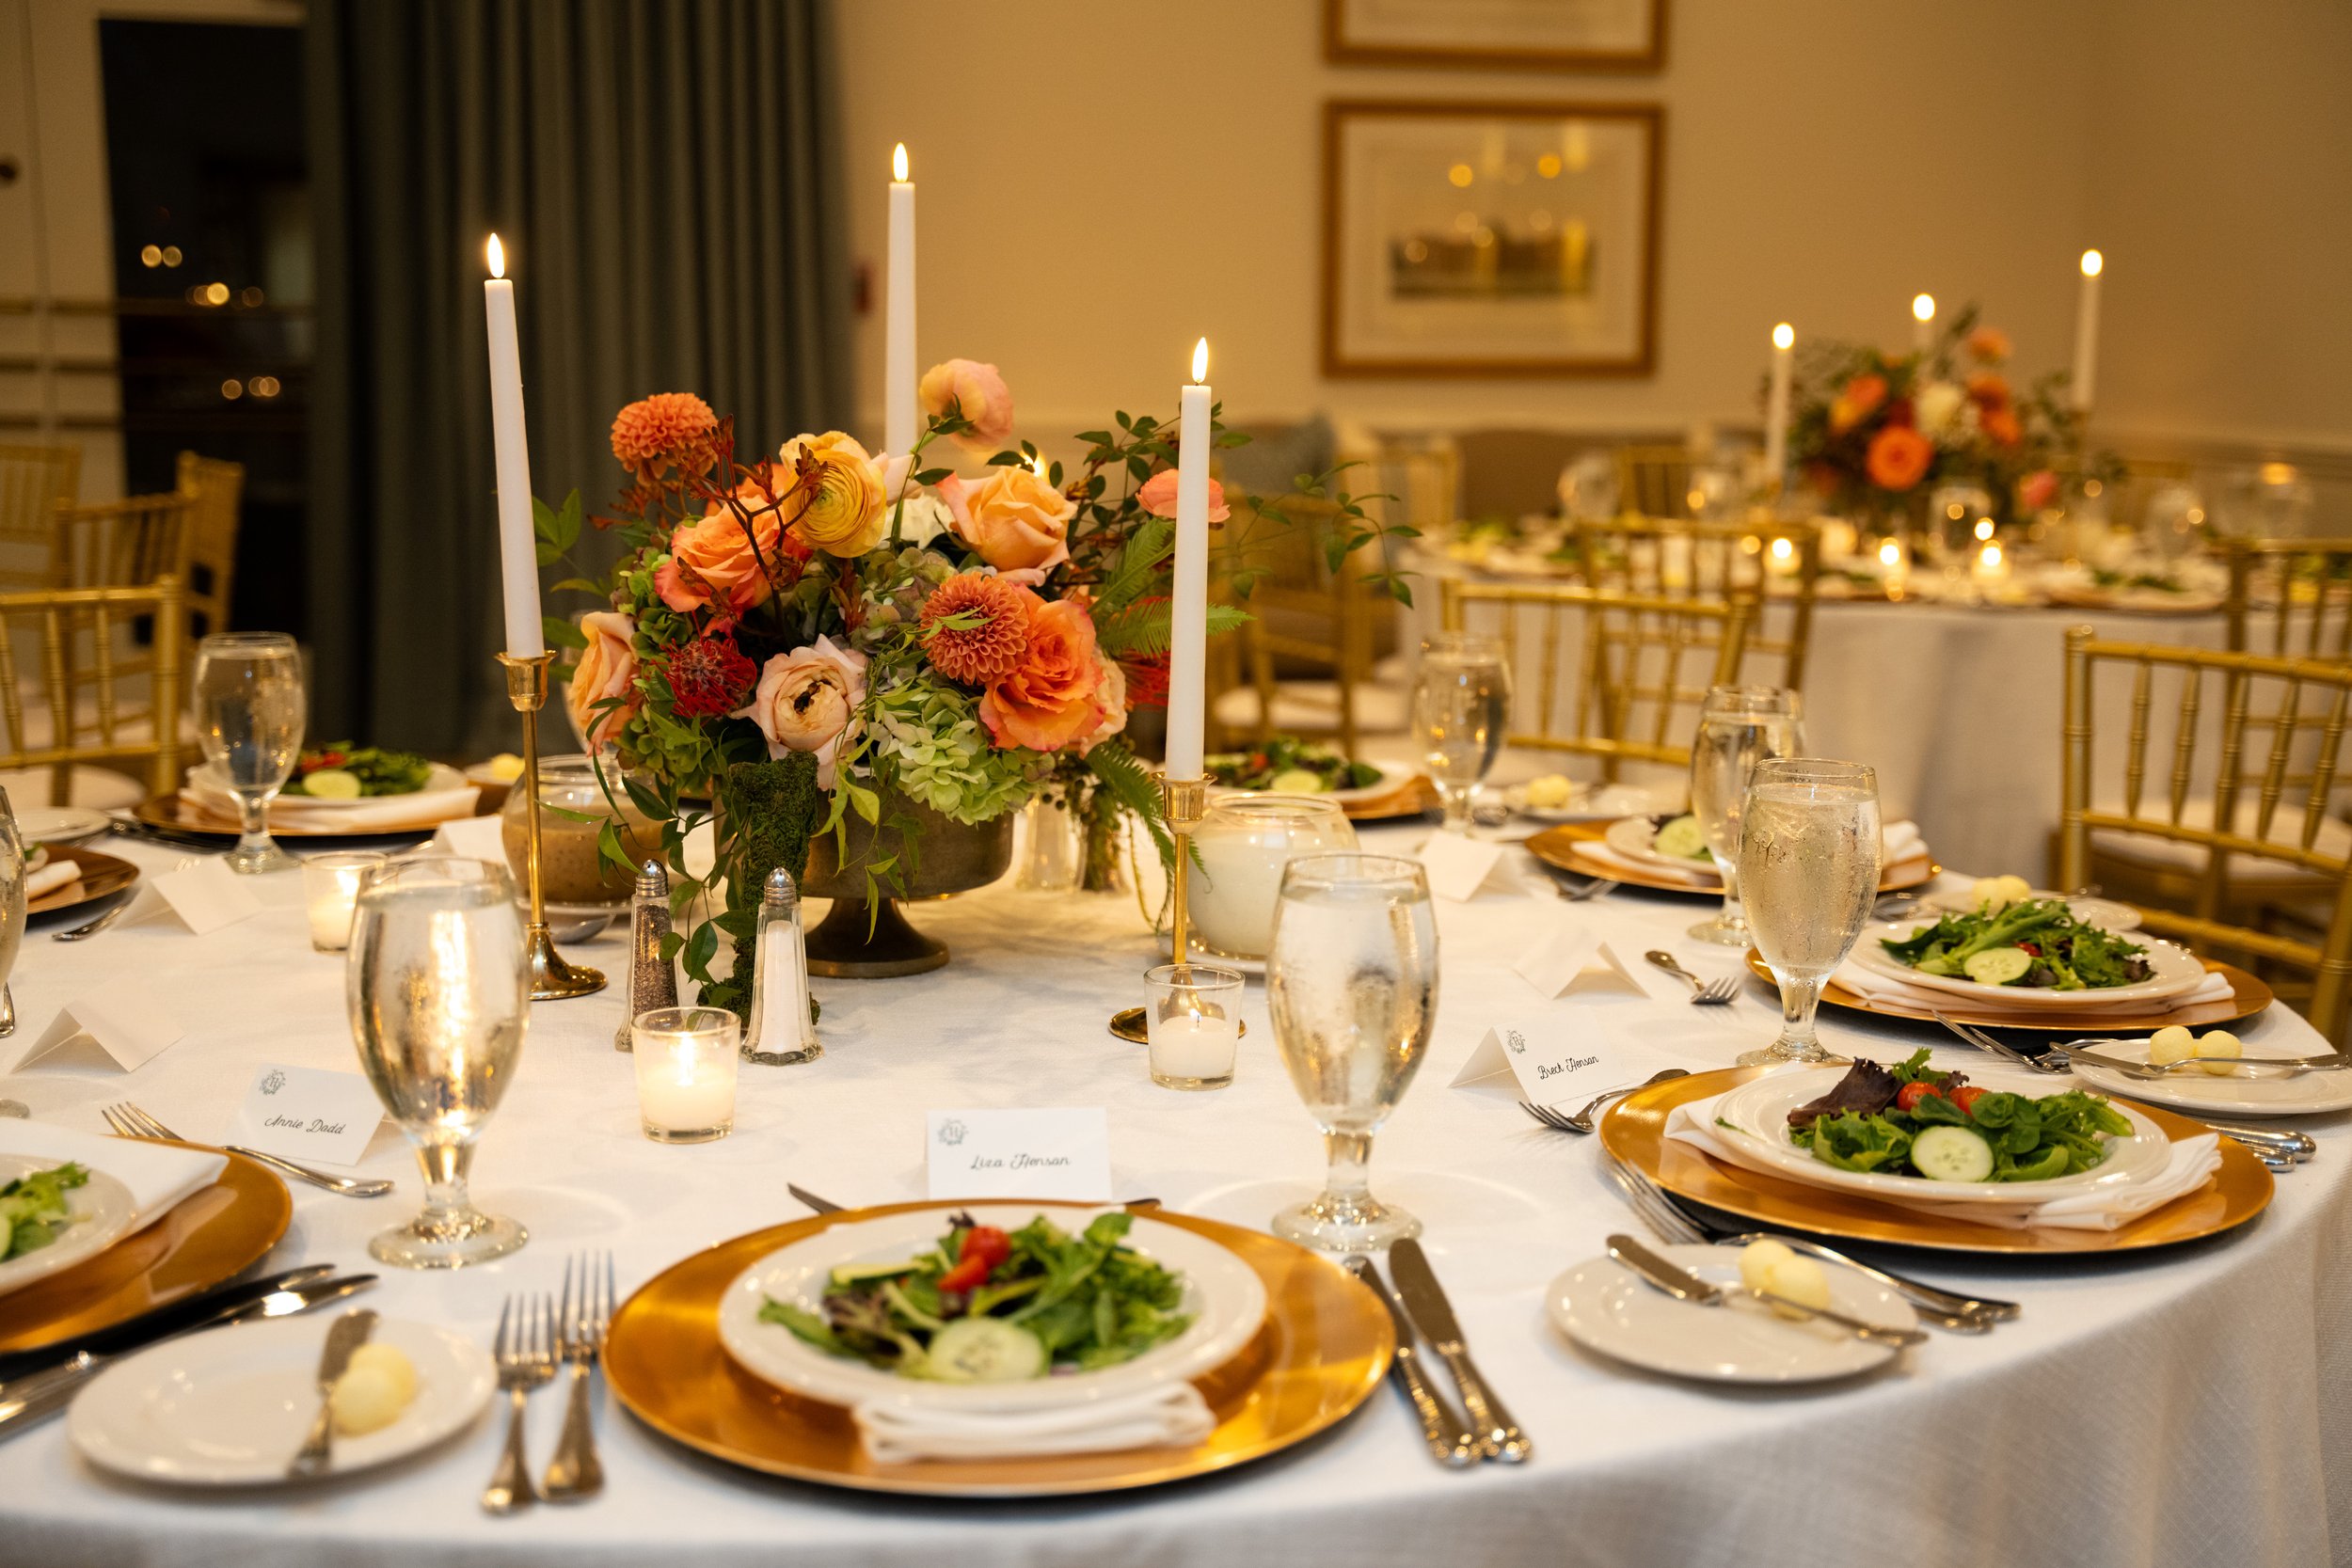
Rain invites a cozy, intimate feel that can tie into your wedding theme perfectly. Think about candles, fairy lights, warm drinks, and fuzzy blankets—little details that make a wedding day feel special and personalized. If you're planning a fall or winter wedding, the rain will just add to that snug, fireside kind of magic. Plus, you can play up your decor with candles and soft lighting that create a warm, welcoming glow, which translates beautifully into your wedding photos.
8. It’s All About Your Attitude
At the end of the day, what matters most is your attitude. If you choose to see rain as an opportunity for beautiful photos, memorable moments, and unique memories, then it will be. Your wedding day is about the love you share, not the weather. When you embrace what comes your way, rain or shine, your wedding will still be perfect in every way that matters.
Final Thoughts
Whether you’re planning for a spring shower or a spontaneous downpour, remember that your wedding day will be incredible, no matter what the weather has in store. Rain can bring unexpected beauty, incredible photos, and a deep sense of connection with the ones you love. So, if the rain comes, let it be a symbol of your marriage: strong, resilient, and able to weather any storm together.
And trust me—I’ll be right there, camera in hand, ready to capture every beautiful moment, no matter how wet we get! 🌧️💍
I hope this post helps you feel better about the possibility of rain on your wedding day. What’s your take on weather in weddings—do you love the idea of a rainy ceremony, or are you hoping for sunshine?

